Small build / Home automation
Local Mitsubishi air conditioning
I connected our two Mitsubishi air conditioners straight to Home Assistant, so they do not have to rely on MELCloud.
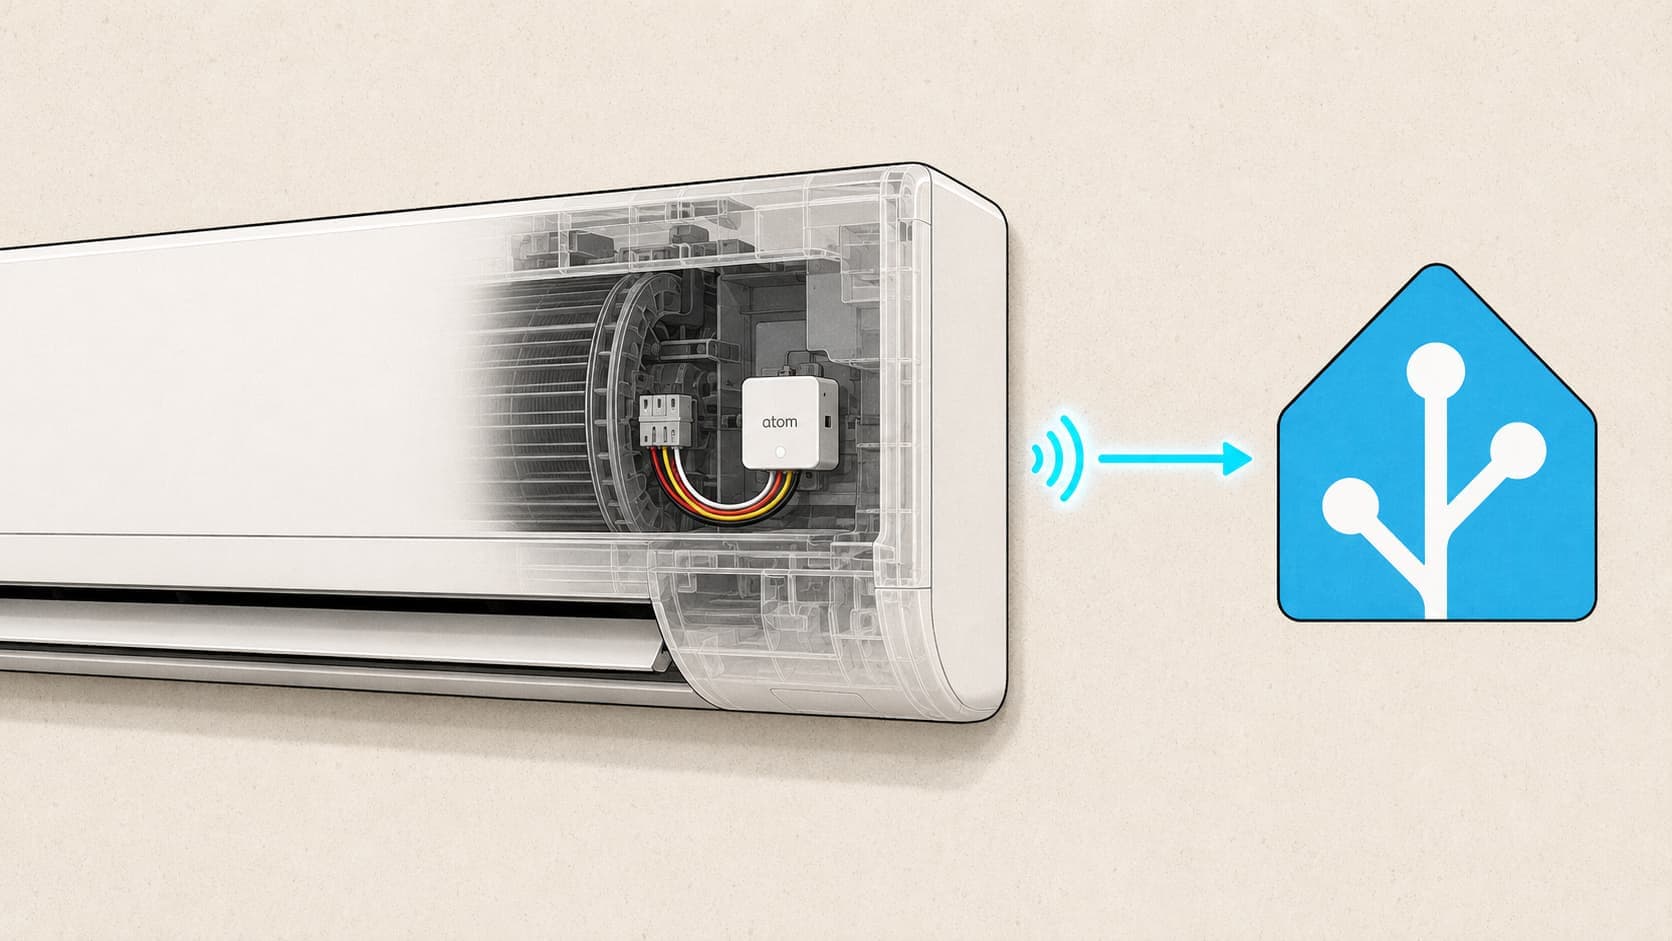
After a brutally hot summer in Barcelona, we finally gave in and had air conditioning installed at home. We went with two Wi-Fi Mitsubishi units: one for the living room and one for the bedrooms upstairs.
While I was waiting for the installation, I started looking into how the Wi-Fi control actually worked. That's when I found the CN105 connector inside the indoor units. With a small ESP32 and ESPHome, you can use that connector to control the machines locally. I ordered two AtomS3 Lites and the matching cables before the installers had even arrived.
These VFK models can already be added to Home Assistant through MELCloud, so none of this is strictly necessary. I just did not want the controls for something inside my house to depend on an internet connection and Mitsubishi's servers. Both AtomS3s are now tucked away beside the indoor units, and the setup has been working perfectly.
Architecture
CN105 to Home Assistant
Indoor unit
Mitsubishi AC
MSZ-HR35/50VFK · CN105
Local bridge
AtomS3 Lite
ESPHome · GPIO1 / GPIO2
Controller
Home Assistant
Local climate entity
My tested path, but direct 5 V wiring is outside the AtomS3 electrical specification.
One important wiring detail
The cable may fit, but that does not mean the two sides use the same voltage. CN105 uses 5 V UART logic, while the AtomS3's GPIO pins are rated for 3.3 V. The 5 V supply can power the Atom through its 5 V input, but the data line going into the Atom's RX pin should first be brought down to 3.3 V.
CN105 TX (5 V)  -> converter -> Atom RX (3.3 V)
Atom TX (3.3 V) -> converter -> CN105 RX (5 V)
TX and RX also need to be crossed. My setup is wired directly and works, but that puts 5 V logic into a 3.3 V GPIO pin. It is outside the AtomS3's specification and could damage the board. If I were wiring it again, I would add a level converter rather than take the risk.
Using ESPHome's official component
ESPHome already has a mitsubishi_cn105 component, so I used that to get the controls into Home Assistant. Some older guides use an external component, but you do not need it anymore.
For the AtomS3 Lite, I used the m5stack-atoms3 board profile and set the flash size to 8 MB. The Grove connector has UART TX on GPIO1 and RX on GPIO2, and the CN105 component expects even parity. I also had to enable the internal pull-up on GPIO2. Without it, both of my boards received garbage instead of valid CN105 replies.
You can find all the available options in the official ESPHome documentation for Mitsubishi CN105 Climate.
esphome:
  name: aire-menjador
  friendly_name: Aire menjador

esp32:
  board: m5stack-atoms3
  flash_size: 8MB
  framework:
    type: esp-idf

logger:
  level: INFO

api:
  encryption:
    key: !secret aire_menjador_api_key

ota:
  - platform: esphome
    password: !secret ota_password

wifi:
  ssid: !secret wifi_ssid
  password: !secret wifi_password

uart:
  id: hp_uart
  baud_rate: 2400
  parity: EVEN
  tx_pin: GPIO1
  rx_pin:
    number: GPIO2
    mode:
      input: true
      pullup: true

mitsubishi_cn105:
  uart_id: hp_uart
  update_interval: 2s

climate:
  - platform: mitsubishi_cn105
    name: Aire menjador
    supported_swing_modes: VERTICAL

select:
  - platform: mitsubishi_cn105
    vertical_vane_direction:
      name: Posició vertical
Add the Wi-Fi credentials, OTA password, and API keys directly in ESPHome's Secrets editor in Home Assistant. Generate a different API key for each controller with this terminal command:
openssl rand -base64 32I copied the same configuration for the second air conditioner and changed the device name, climate name, and Home Assistant API key.
What Home Assistant gets
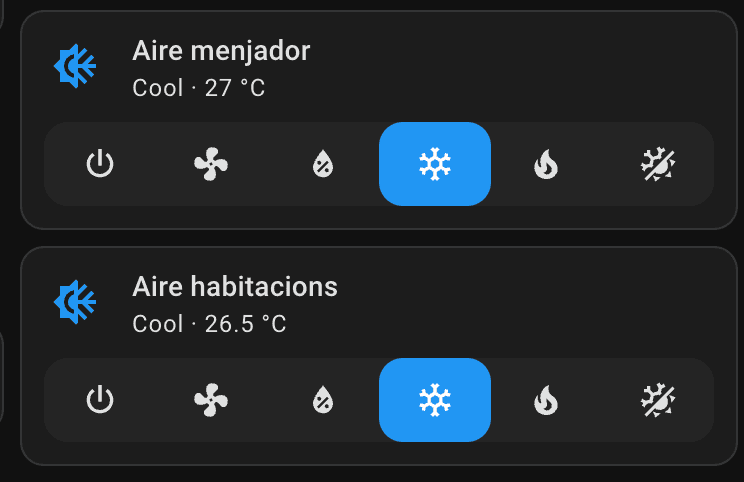
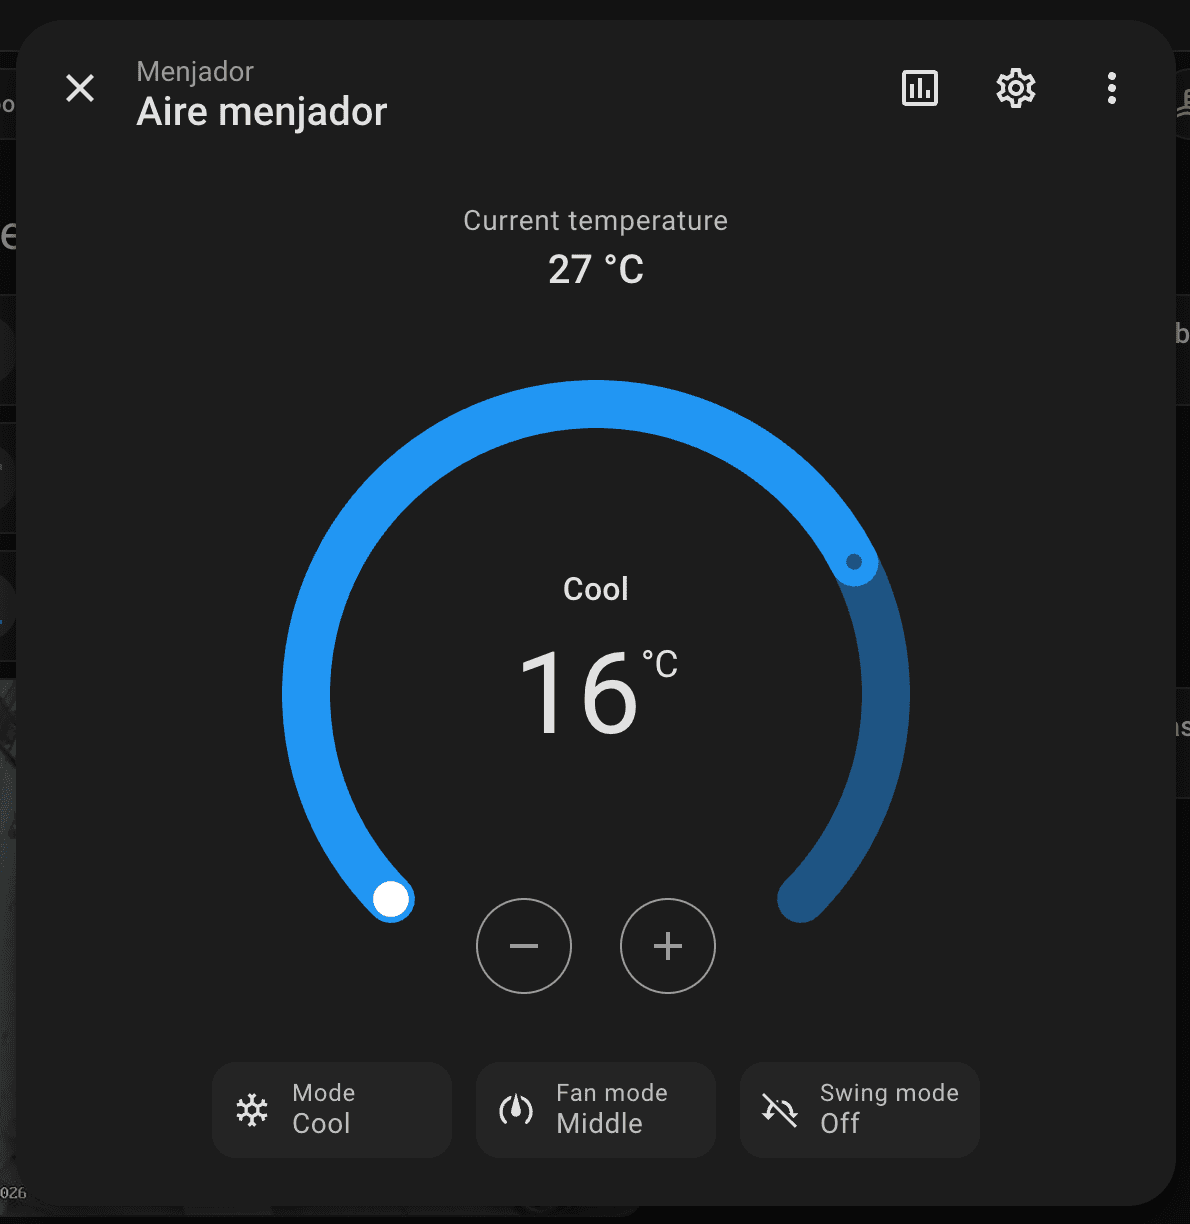
Each air conditioner appears as a normal climate entity, with controls for power, target temperature, mode, fan speed, and vertical swing. There is also a separate control for the vane, with automatic mode, five fixed positions, and swing.
Products to buy
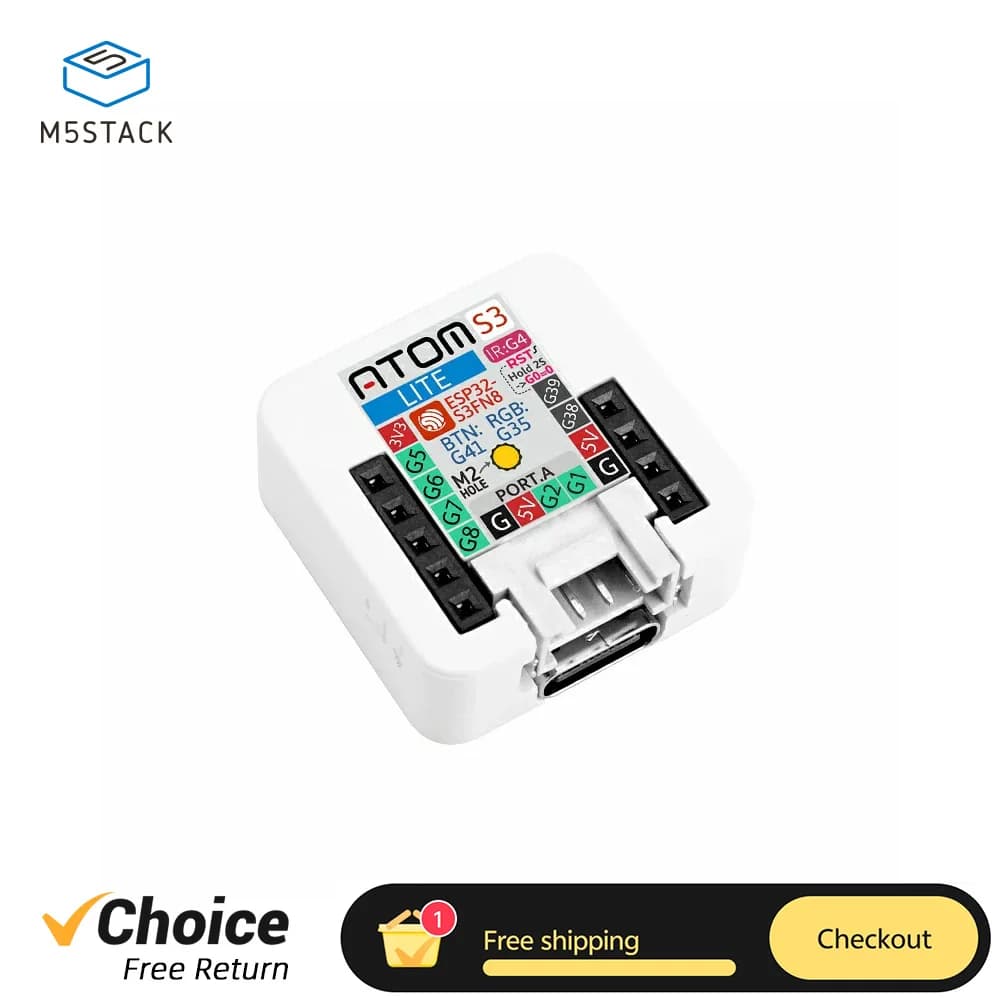
M5Stack AtomS3 Lite
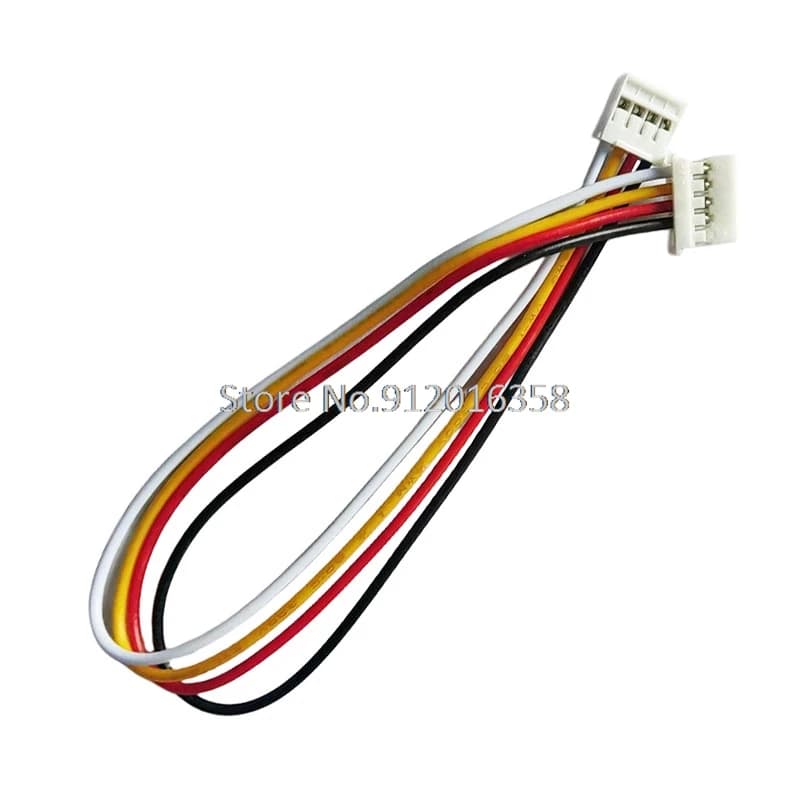
Mitsubishi CN105 to M5Stack NanoC6 Cable
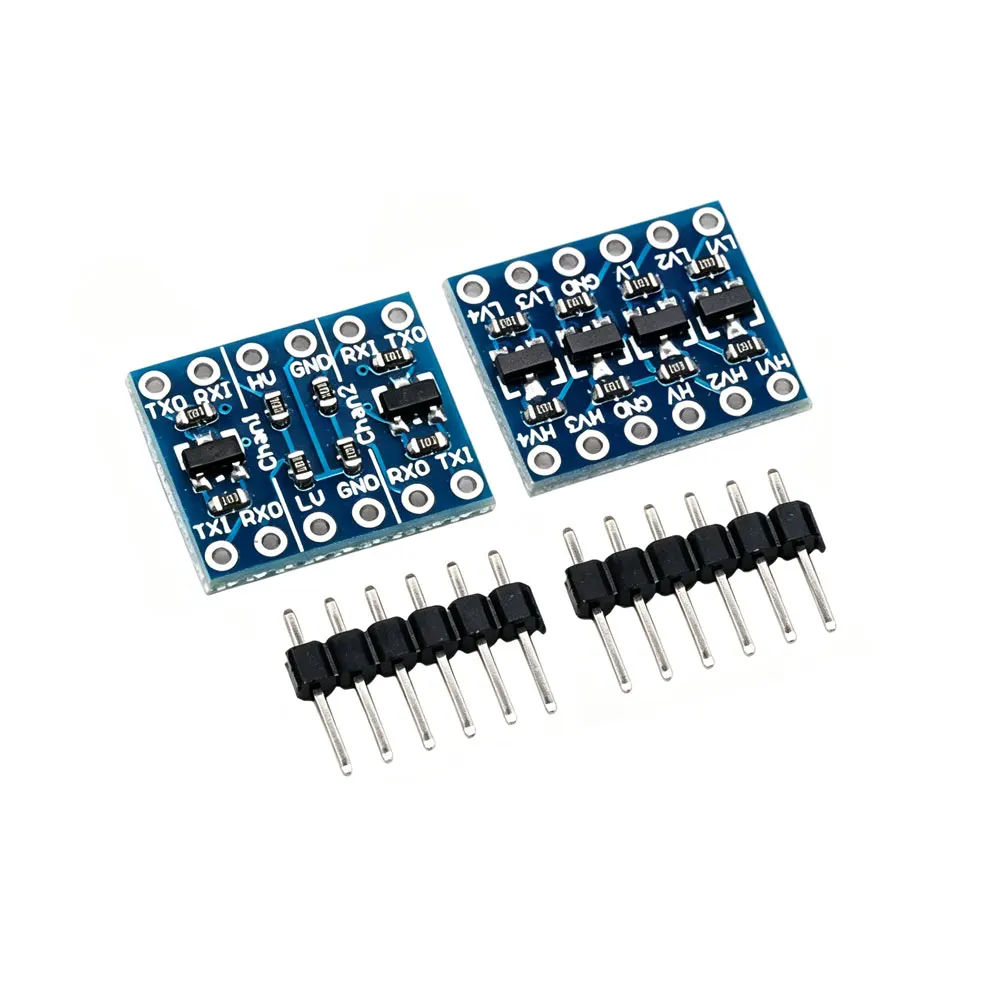
2/4-Channel Bidirectional Logic Level Converter
I have not tested the converter linked here because my current build does not use one. It's just an example of the type you need.